
Support / Getting started
Inviting your team to Pilea
Inviting your team to Pilea gives colleagues access to your workspaces so they can view the backlog, ask Pilea questions, and add feedback. Only organization Admins and Owners can send invitations.
Invite teammates by email
- Go to Settings → Team.
- Click Invite member.
- Enter the email address in the Email address field.
- Select a Role: Editor or Viewer. If you are the organization Owner, you can also choose Admin.
- If your organization has private workspaces, tick the ones this person should have access to under Private workspace access. Public workspaces are open to everyone automatically.
- Click Send invitation.
The invited person receives an email with a link to join. Repeat these steps for each person you want to invite.
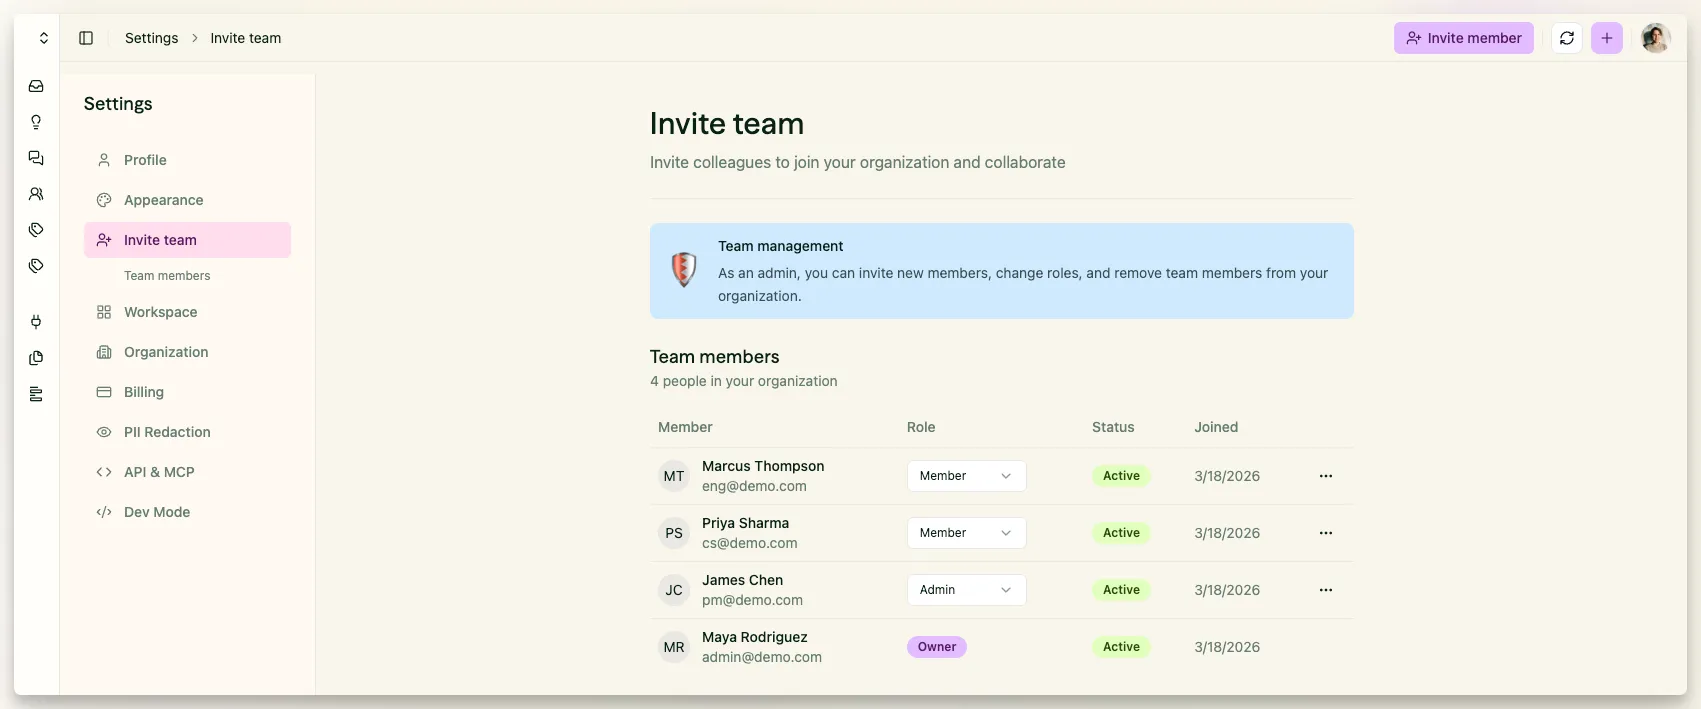
Screenshot: Settings > Team page showing the member list and the Invite member button on the top right.
Understanding roles
Pilea has a single set of organization-level roles. A member’s role follows them into every workspace they can access.
| Role | What they can do |
|---|---|
| Owner | Full access to everything, including billing, transferring ownership and deleting the organization. Only the Owner can grant or revoke the Admin role. |
| Admin | Can invite and remove members, manage integrations, create and manage workspaces, and configure organization settings and billing. |
| Editor | Can view and edit: add feedback, work the backlog, ask Pilea questions, create surveys and comment. |
| Viewer | Read-only access to the backlog and insights in every workspace they can access. Cannot add or edit content. |
💡 Tip: For most team members Editor is the right role. Use Viewer for stakeholders who need to see the backlog without making changes, and reserve Admin for the people who manage integrations and workspace configuration.
See Pilea roles and permissions for the full permission table.
Change a member’s role
- Go to Settings → Team.
- Find the member in the list.
- Use the Role dropdown next to their name to select the new role.
- The change takes effect immediately, in every workspace.
Only the organization Owner can change roles. The Owner’s own role can’t be changed here; use Transfer ownership from the … menu instead, which makes the other person Owner and demotes you to Admin.
Check whether an invitation was accepted
Pending invitations are listed at Settings → Team with the email, role, who sent it, when it was sent, and when it expires. Invitations are valid for 7 days. Use Resend invitation to generate a fresh link (this also works for an expired invitation) or Cancel invitation to withdraw it.
Once someone accepts, they move to the member table. The Status column shows Active for members who have access, and Suspended if their seat has been suspended.
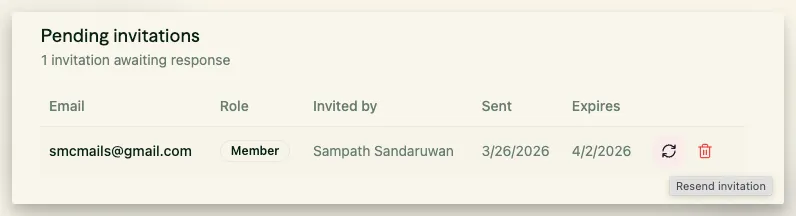
*Screenshot: Pending invitations tab showing the Resend and Revoke actions next to each pending invite. *
Add members to a private workspace
Public workspaces are open to everyone in the organization. For a private workspace, switch to it, go to Settings → Members, click Add member and pick the person. Members keep their organization role. A private workspace always needs at least one admin member, so the last admin can’t be removed.
Remove a member
- Go to Settings → Team.
- Find the member you want to remove.
- Click the … menu next to their name.
- Select Remove member.
Removing a member revokes their access to all workspaces immediately. Their contributions (feedback entries, backlog items, insights) remain in the workspace. To keep someone in the organization but take away their access temporarily, the Owner can choose Suspend seat from the same menu, and Reactivate seat later.
Stuck? Email us — a human answers, usually the same day.