
Support / Getting started
Creating and switching between workspaces
A workspace is where your team’s feedback, backlog, and insights live. Your organization can have multiple workspaces - each with its own analysis framework, backlog, members and settings. This is useful when you need to separate feedback by product, team, or research focus.
When to use multiple workspaces
A single workspace works well for many teams. Consider creating more workspaces when:
- You have distinct products that different teams own - keeping their backlogs and frameworks separate avoids noise between teams
- You want to try a different analysis framework on real data - duplicate the workspace and re-analyze the copy, so the original stays untouched
- You have different research contexts - for example, one workspace for customer feedback and another for internal UX research
- Some feedback should only be visible to a few people - a private workspace is only accessible to the members you add
ℹ️ Note: Integrations are connected at the organization level, so the same integrations are available to all workspaces. You choose which workspaces each integration feeds into.
How to create a new workspace
- Click your workspace name in the top-left corner of the sidebar to open the workspace switcher.
- Click Add workspace at the bottom of the dropdown.
- Enter a Workspace name and, optionally, a description.
- Choose the Visibility: Public (everyone in your organization can access it with the permissions from their organization role) or Private (everyone can see it exists, but only invited members can access it).
- Choose an Analysis framework, or pick Build your own to define custom categories. See Choosing your analysis framework.
- Click Create workspace.
- Go to Settings → Backlog to adjust priority scoring and backlog automation for the new workspace if the defaults don’t fit.
You can also create a workspace from Settings → Workspaces → Create new workspace. The number of workspaces is limited by your plan.
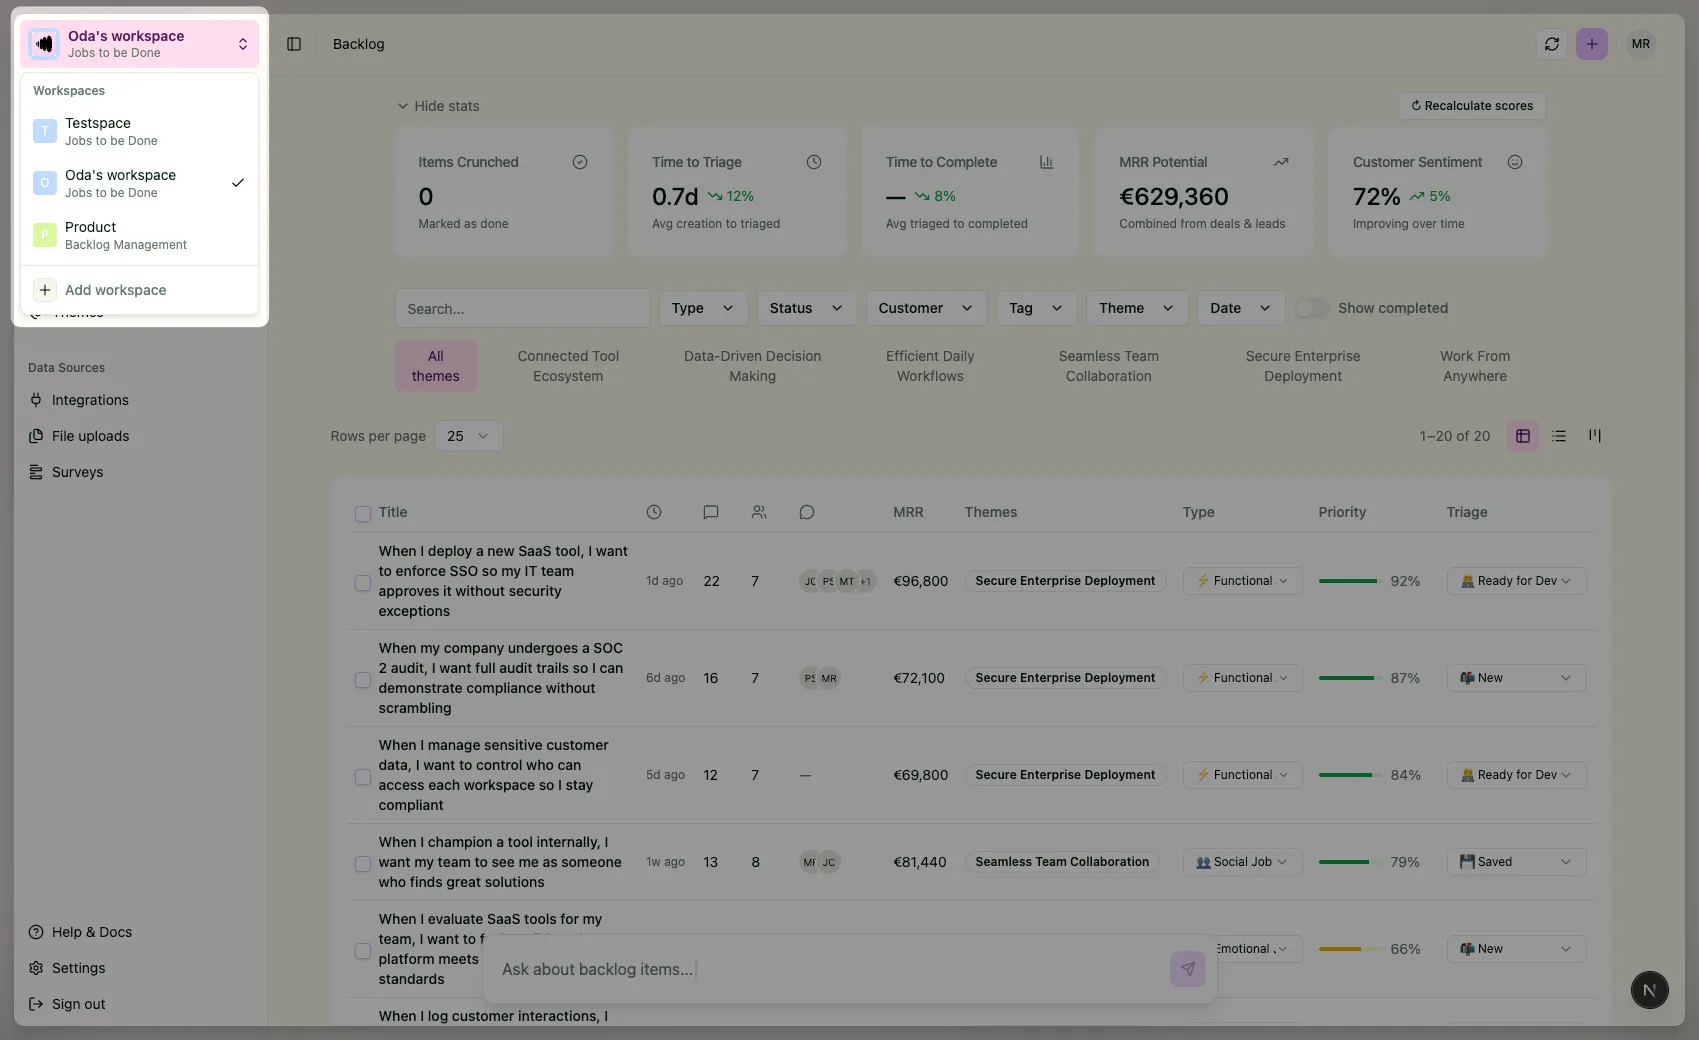
*Screenshot: Workspace switcher dropdown open, showing existing workspaces and the Add workspace option at the bottom. *
Once created, the new workspace starts empty. Connect the integrations or data sources you want to use in Integrations in the sidebar (under Data Sources) and select which workspaces they feed into.
ℹ️ Note: Companies and tags are the same across all workspaces.
Duplicate a workspace
To copy a workspace with everything in it, go to Settings → General and click Duplicate. Give the copy a name and choose whether to copy the members. The new workspace keeps the same framework, priority scoring and settings, and gets a copy of all feedback, mentions, themes, backlog items and every link between them, comments and attachments - nothing is re-analyzed. Surveys come along as paused, unpublished records, insights and agents are not copied, and integration syncing starts disabled in the copy until you turn it on.
Move or copy feedback between workspaces
From the Mentions list, select the feedback mentions you want, then choose Move to another workspace. Pick the destination and a mode:
- Move removes the feedback from this workspace and analyzes it against the destination’s backlog. Tags and customers come along.
- Copy keeps the feedback here and adds an independent copy that is analyzed fresh in the destination workspace.
How to switch between workspaces
- Click your workspace name in the top-left corner of the sidebar.
- A dropdown shows all workspaces in your organization. Private workspaces you aren’t a member of are shown locked.
- Click the workspace you want to switch to.
Your view updates immediately. Each workspace has its own backlog, insights, and settings - switching between them is like switching between separate environments. You can also pick a workspace under Settings → Workspaces to see its lens and members, and click Switch to this workspace from there.
Managing existing workspaces
To rename the current workspace or change its visibility:
- Go to Settings → General (under Workspace).
- Update the Workspace name or switch Visibility between Public and Private.
- Save your changes.
Default workspace. New members get access to the organization’s default workspace first, and it stays reachable regardless of billing plan. To change which workspace is the default, go to Settings → Workspaces, pick a workspace and click Set as default.
Private workspace members. Go to Settings → Members to add or remove people from a private workspace. Members keep their organization role; there is no separate workspace role. A private workspace always needs at least one admin member, so the last admin can’t be removed. Public workspaces don’t need invites - everyone in the organization has access automatically.
To wipe a workspace but keep it, or to remove it entirely, go to Settings → Danger zone:
- Reset all data deletes all feedback, backlog items and insights in the workspace and disables integration syncing, but keeps the workspace, its members and integration configurations.
- Delete workspace permanently deletes the workspace and everything in it. The organization’s default workspace can’t be deleted - set another workspace as default first.
⚠️ Important: Deleting a workspace is permanent. All feedback, backlog items, and insights in that workspace are deleted and cannot be recovered.
⚠️ Important: Only organization Admins and Owners can create, duplicate, reset, or delete workspaces.
Stuck? Email us — a human answers, usually the same day.